Oliver Hibert-Inspired Gel Nails

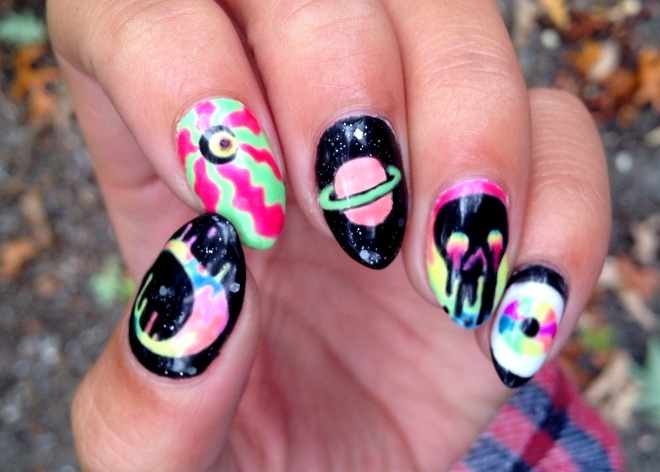
Hey lovelies, long time no see! I have a blog post up and coming on what I’ve been up to the past two years (hint: I can legally do your nails now!), but first I wanted to share this mani with y’all because I’m just that excited about it.

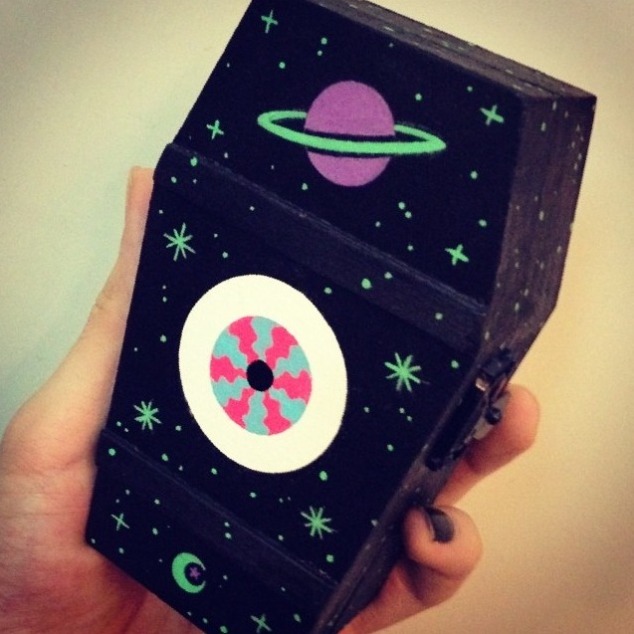
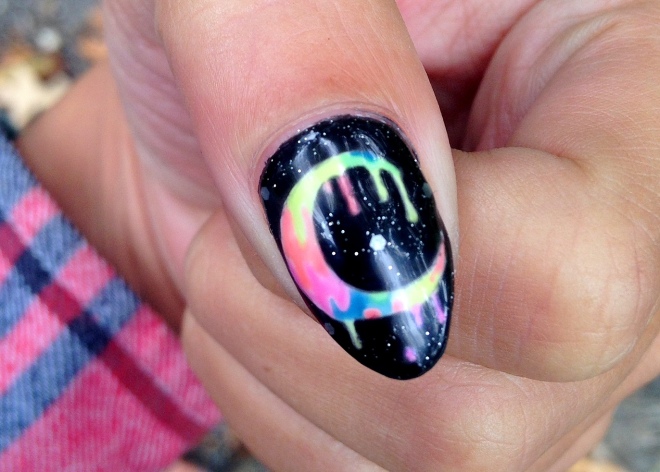
Over the last year I’ve had the pleasure of being acquainted with the totally out there and super radical artwork of Oliver Hibert. His work reminds me of being a little 90s girl – fuzzy blacklight posters with and acid trip-bright funky colors! These are the pieces that inspired my manicure (all screencapped from Hibert’s Instagram account):
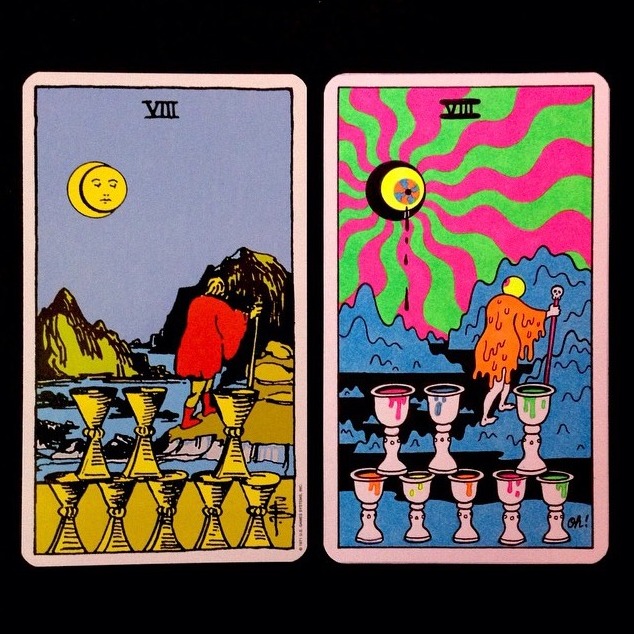
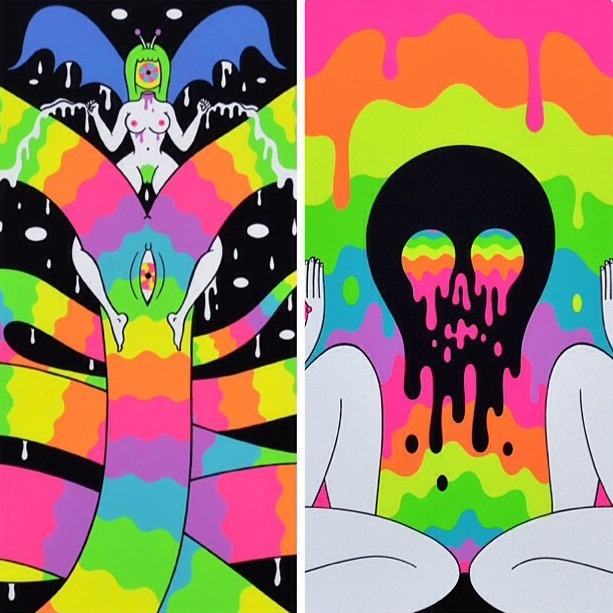
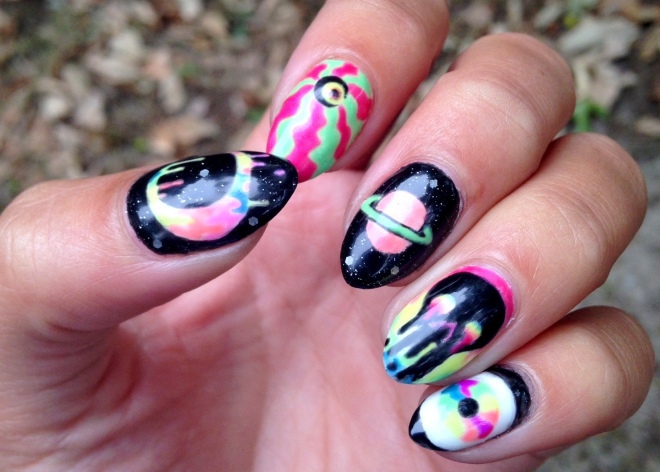
IMG_0033 IMG_0026 IMG_0004So now you have an idea of where my head was at when I started the design. Obviously my nails do not do his work justice, so definitely check out his page for more! And here’s my adaptation of Hibert’s awesomeness on my fingers:
IMG_0102

IMG_0090

IMG_0091 There you have it! These were so much fun to do. I used all OPI Gel Color gel polishes (I took the pics a few days after I completed the mani, hence a lil bit of growth at the cuticle) so the design would last extra long.

I’m so excited to be back (from outer space)! Can’t wait to check out what’s been going on in the nail-o-sphere. Does anyone know of any nail art contests that are going on for fall/Halloween/October? If so, please link them in the comments! Much appreciated.

xoxo the nailien
Fat Lacquers Dollar Menu Collection

I haven’t posted in quite some time (I’m sorry!!! School has been running my life 😦 ), but what better way to bring my blog back to life but with swatches!

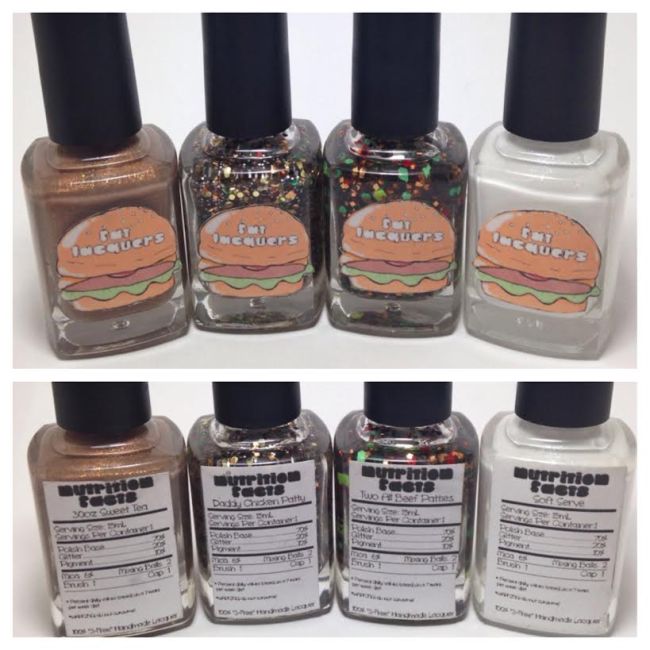
Fat Lacquers is a brand new, 3-free, handmade indie polish line. This collection, the Dollar Menu collection, is available for pre-order at the Fat Lacquers online store this Friday, 11/29 !

Image

I acknowledge that these are pretty much the most adorable labels I’ve ever seen. I’m obsessed haha! And yes, I did get somewhat hungry while swatching 😉

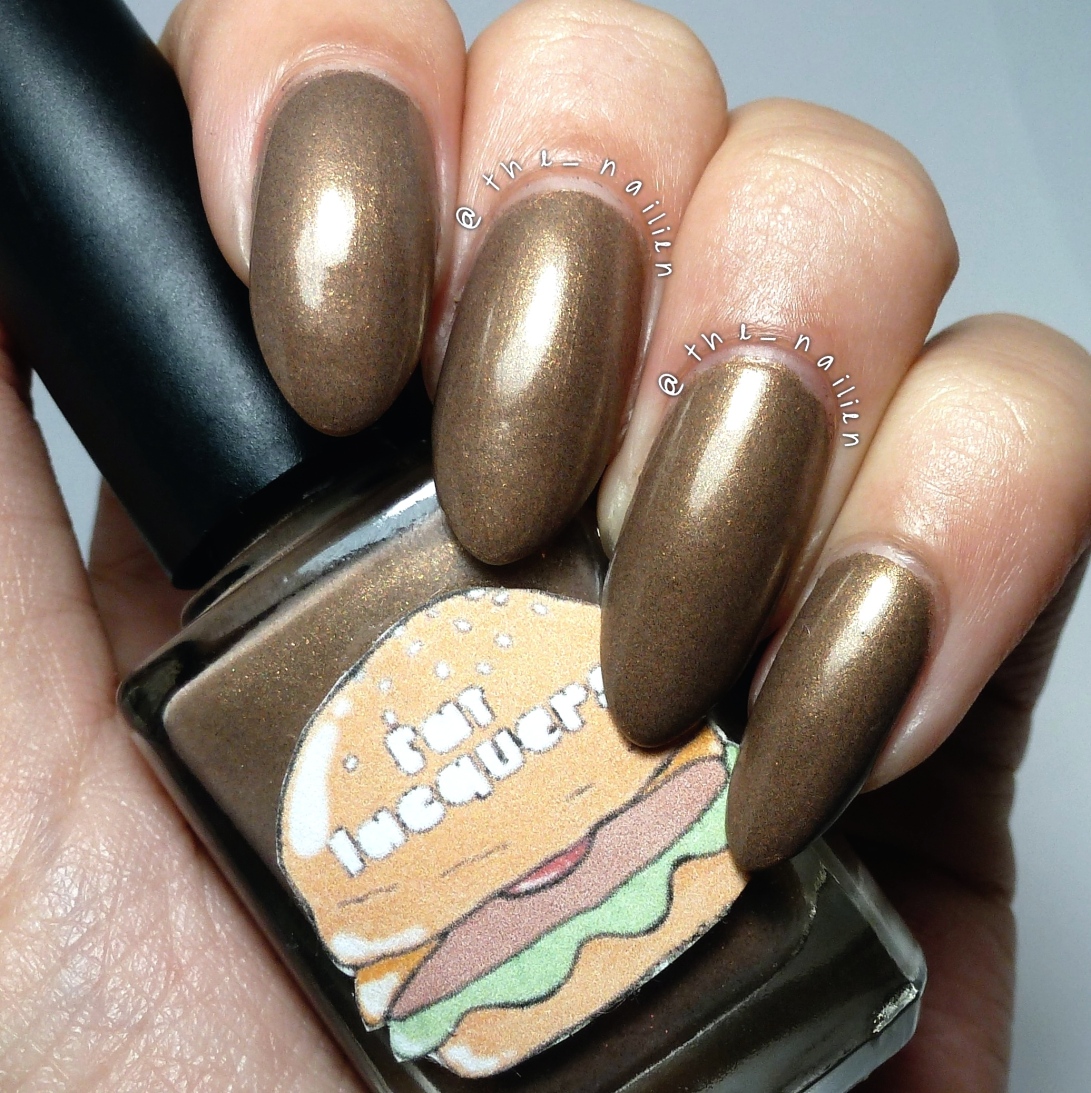
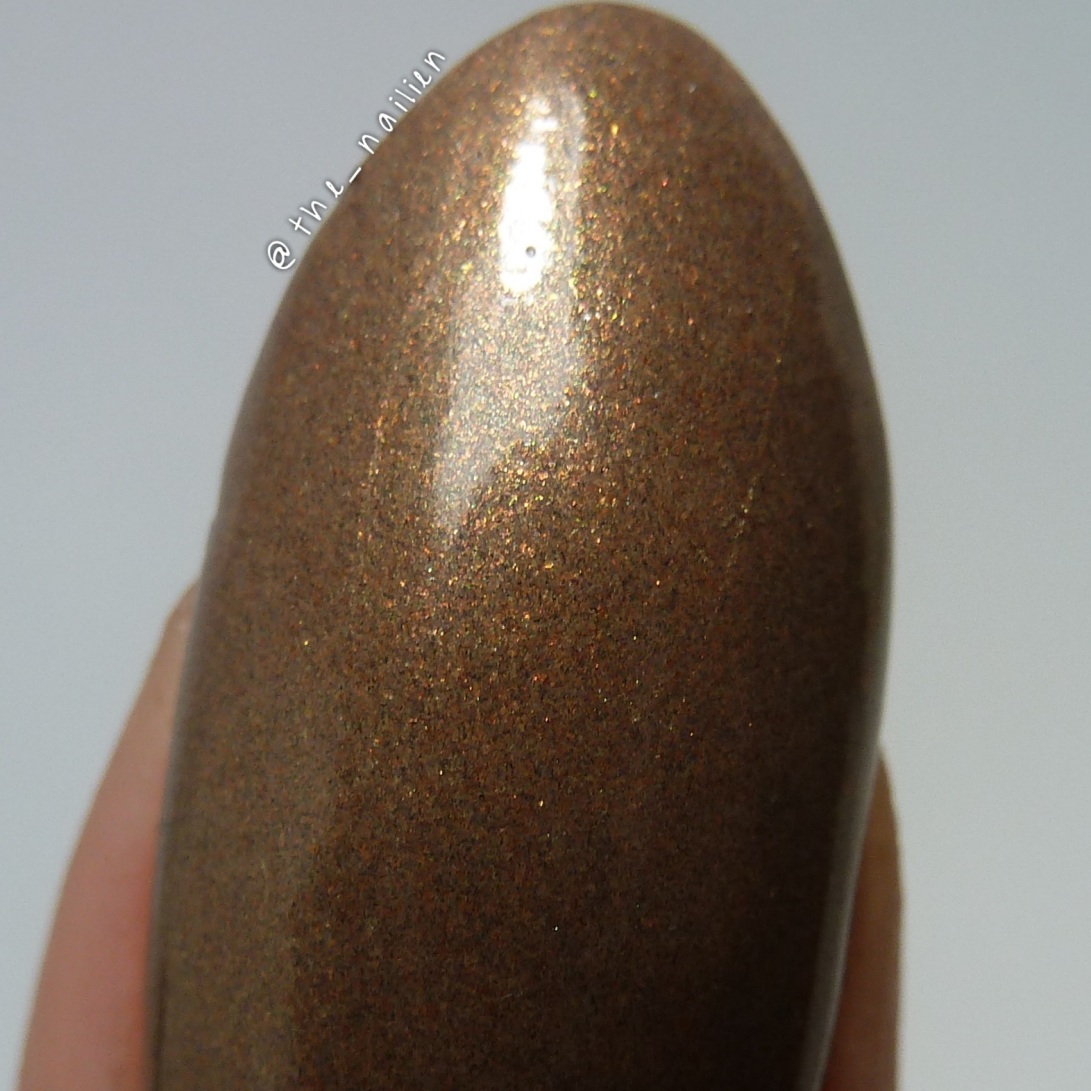
First up from the collection is a sweet shimmery brown rightly named “30oz Sweet Tea.” This is three thin coats topped with Seche Vite. This seriously might be the only brown polish that looks good on me, even my mom requested it for a Thanksgiving mani!

30ozsweettea

And here’s the macro shot:

photo

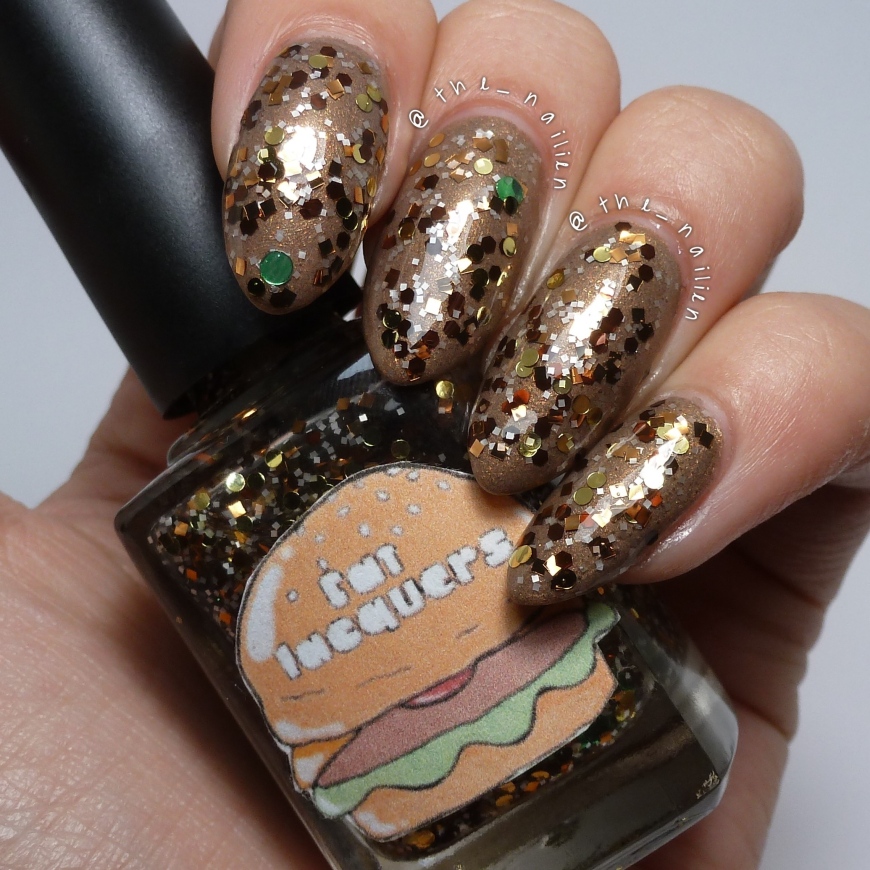
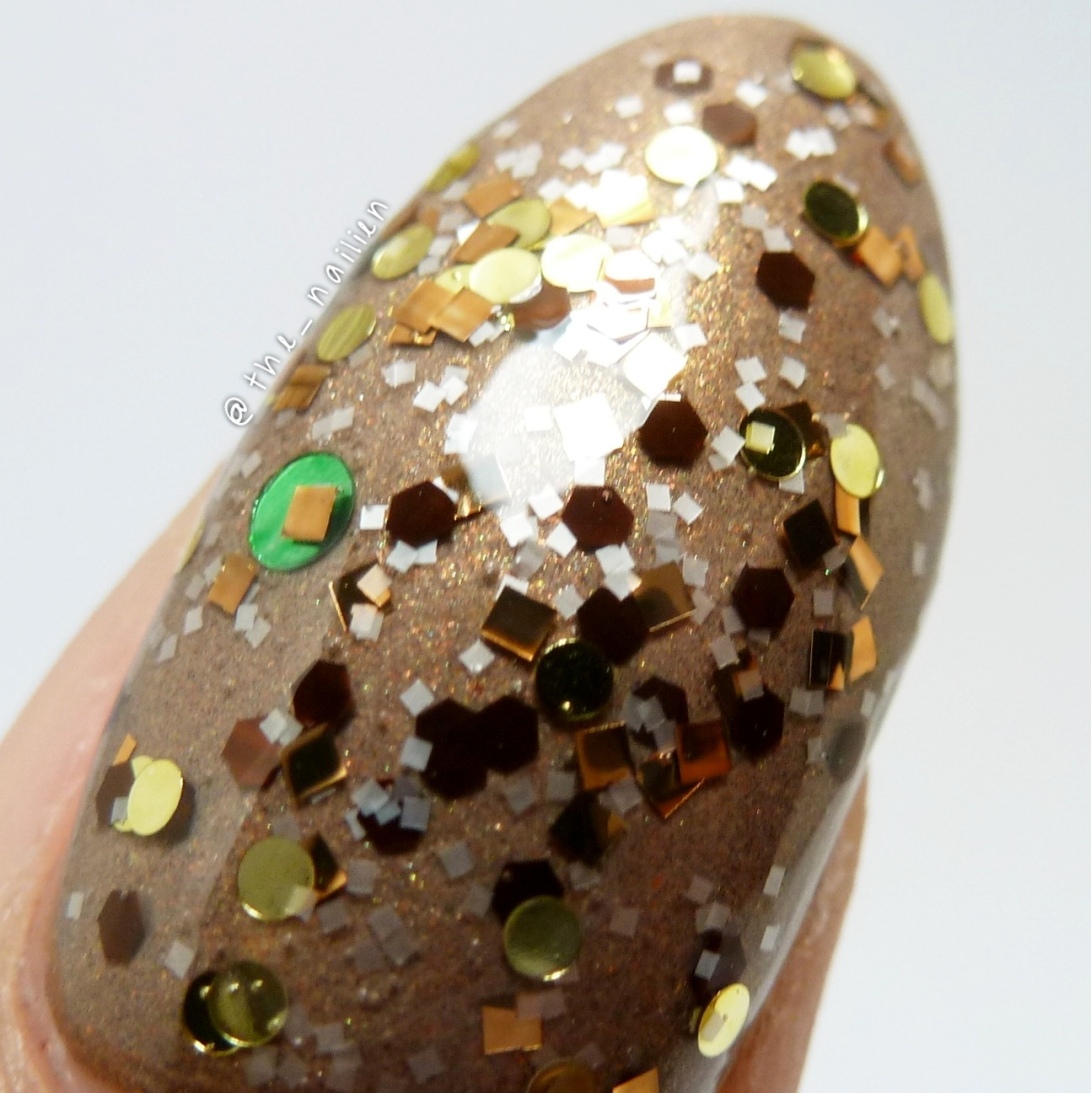
Next up is the sparkling “Daddy Chicken Patty.” This is two coats over “30oz Sweet Tea” then topped with Seche Vite (note: with this glitter topper, as with all my glitter toppers, I left the bottle upside-down for several minutes before application). No fishing required! The little white squares really reminded me of seeds on a bun 🙂

daddychickenpatty1

And the macro:

daddychickenpattymacro-001

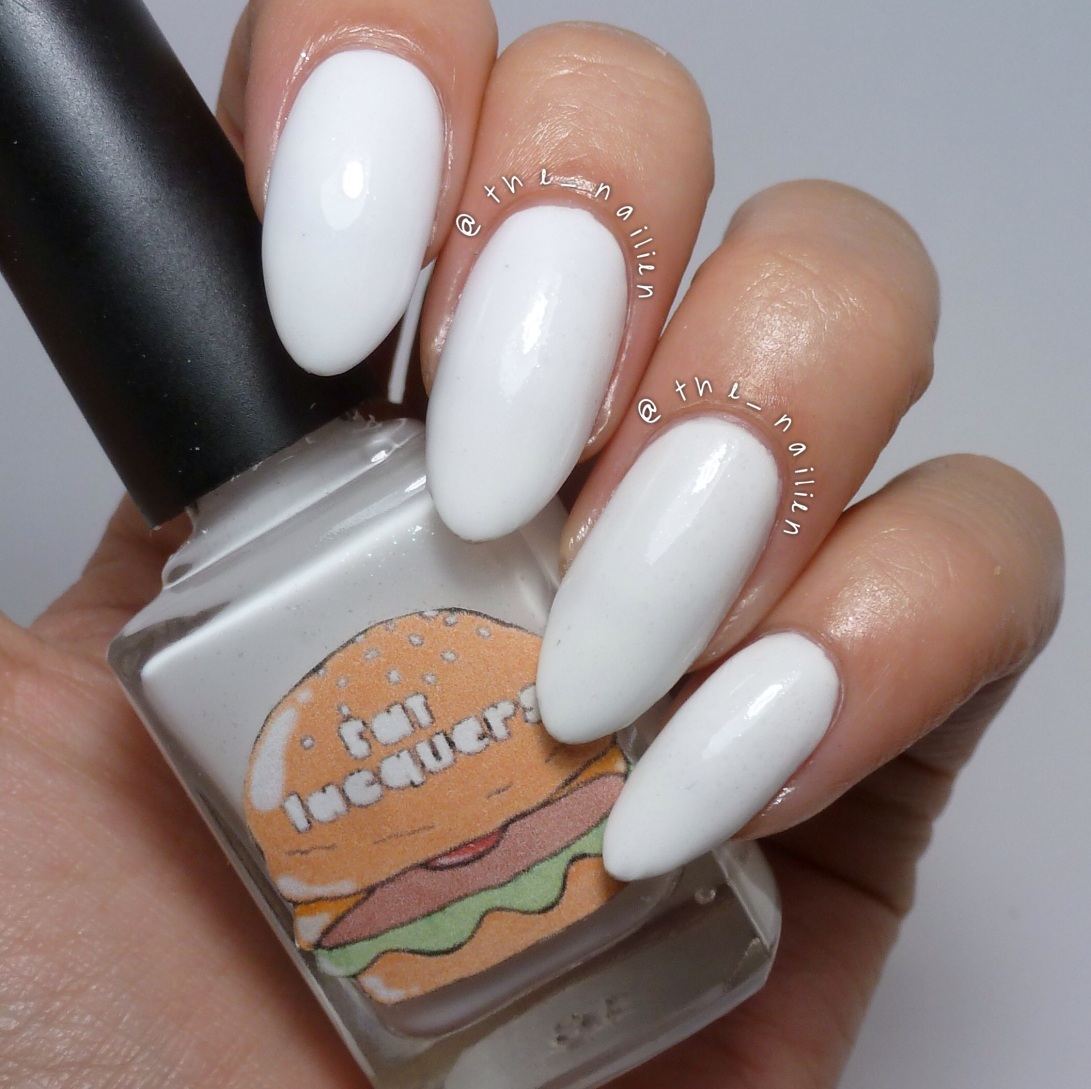
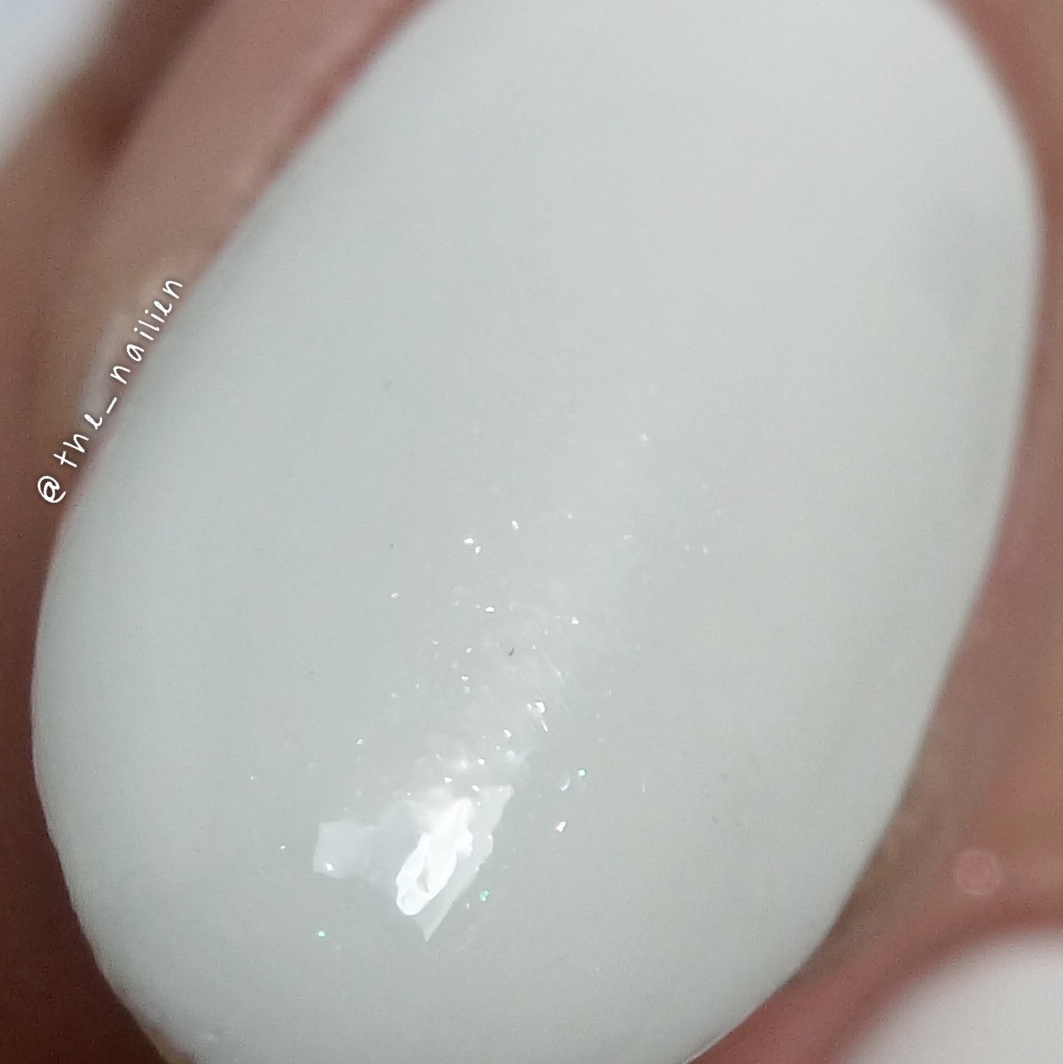
Next we have “Soft Serve.” This creamy white polish with super subtle shimmer really reminds me of that perfect spiral soft serve. It also kind of looks like snow! My camera had an almost impossible time photographing the shimmer, but hopefully it’s a little more visible in the macro shot 🙂

softserve

And if you look closely, you can see the shimmer (it’s much more pronounced in real life – stupid camera :-/ )

softservemacro

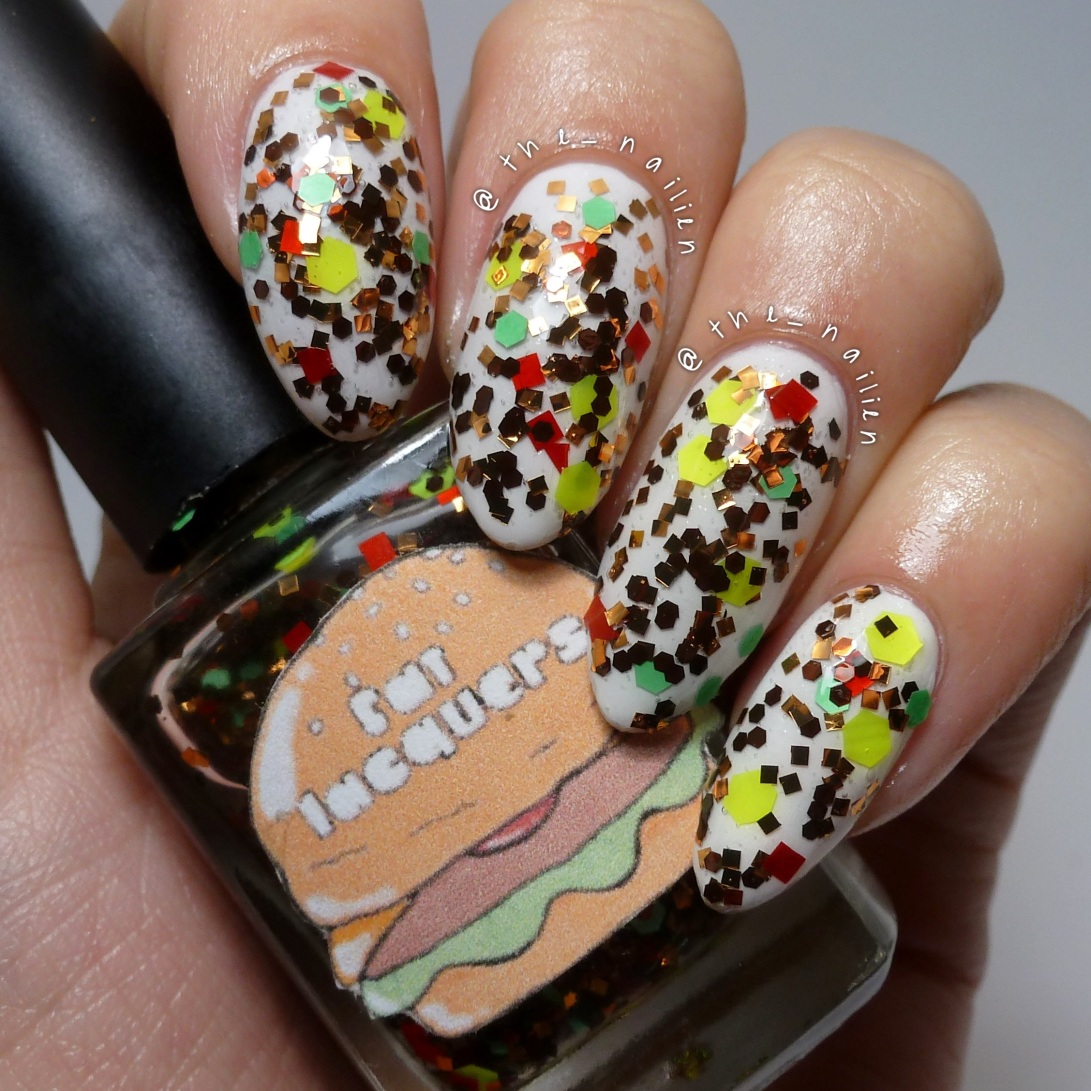
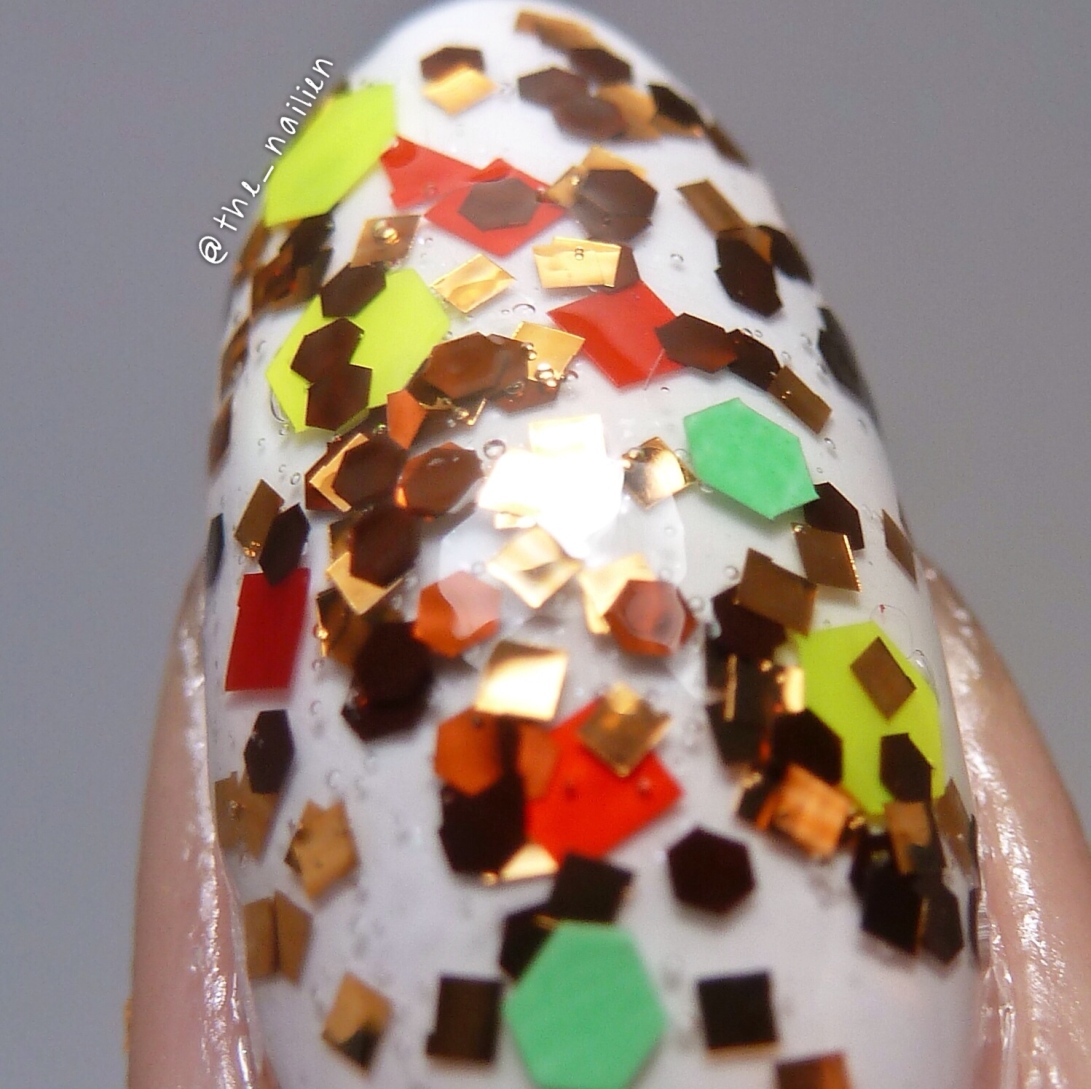
And last but not least, here is “Two All Beef Patties” (I dare you to not want to finish singing the song lol!!) This glitter topper really makes me feel like I have special sauce, lettuce, pickles on a bun – on my nails! This is two coats over “Soft Serve” & topped with Seche.

twoallbeefpatties

And my favorite macro:

twoallbeefpattiesmacro

There you have it y’all! As a closet fast-food junkie (shhhhh…) I personally adore the Dollar Menu collection. The formulas were easy to work with and again – those labels are stinkin’ adorable!! Be sure to catch the release of the Dollar Menu collection this Friday 11/29 at the Fat Lacquers store.

OPI “Muir Muir On The Wall”

Hello all!

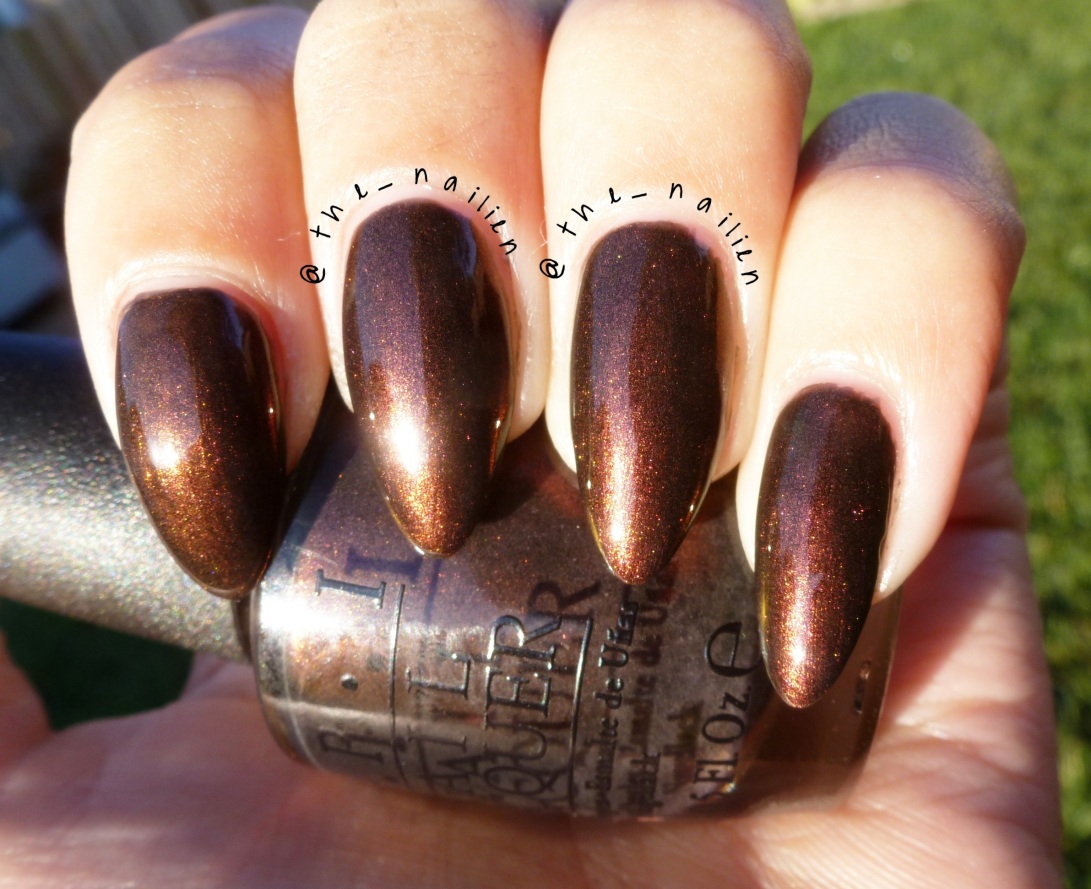
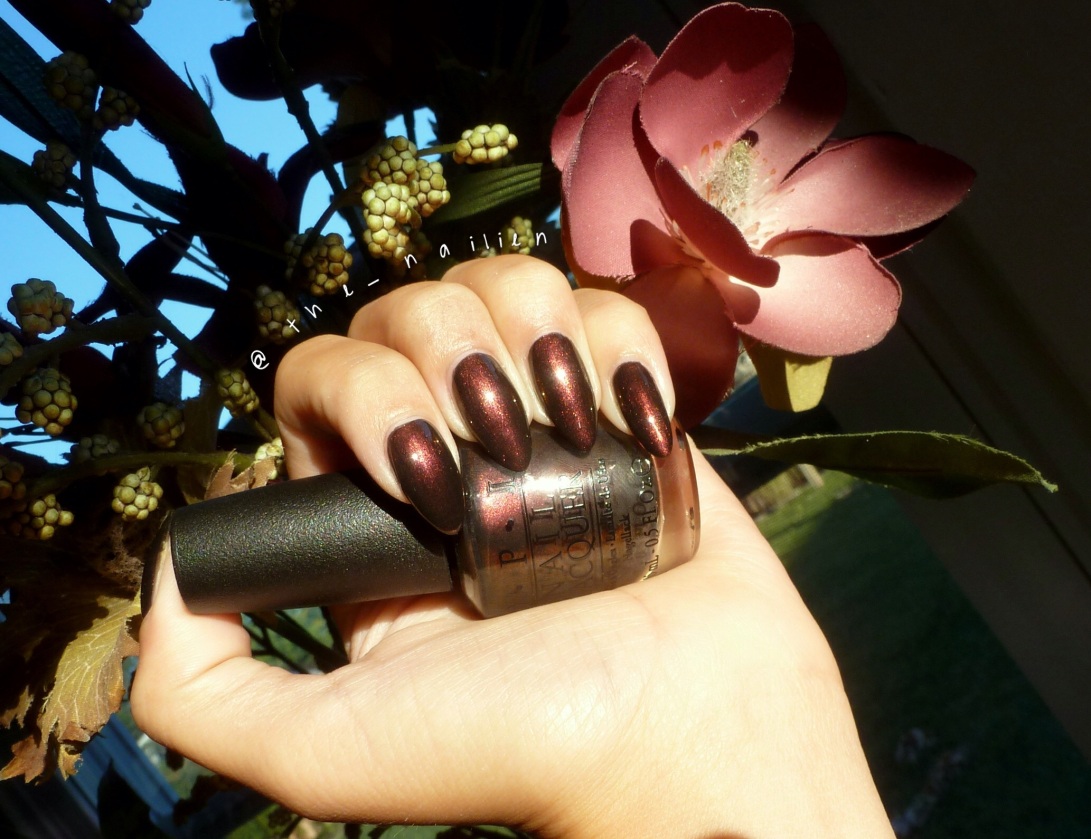
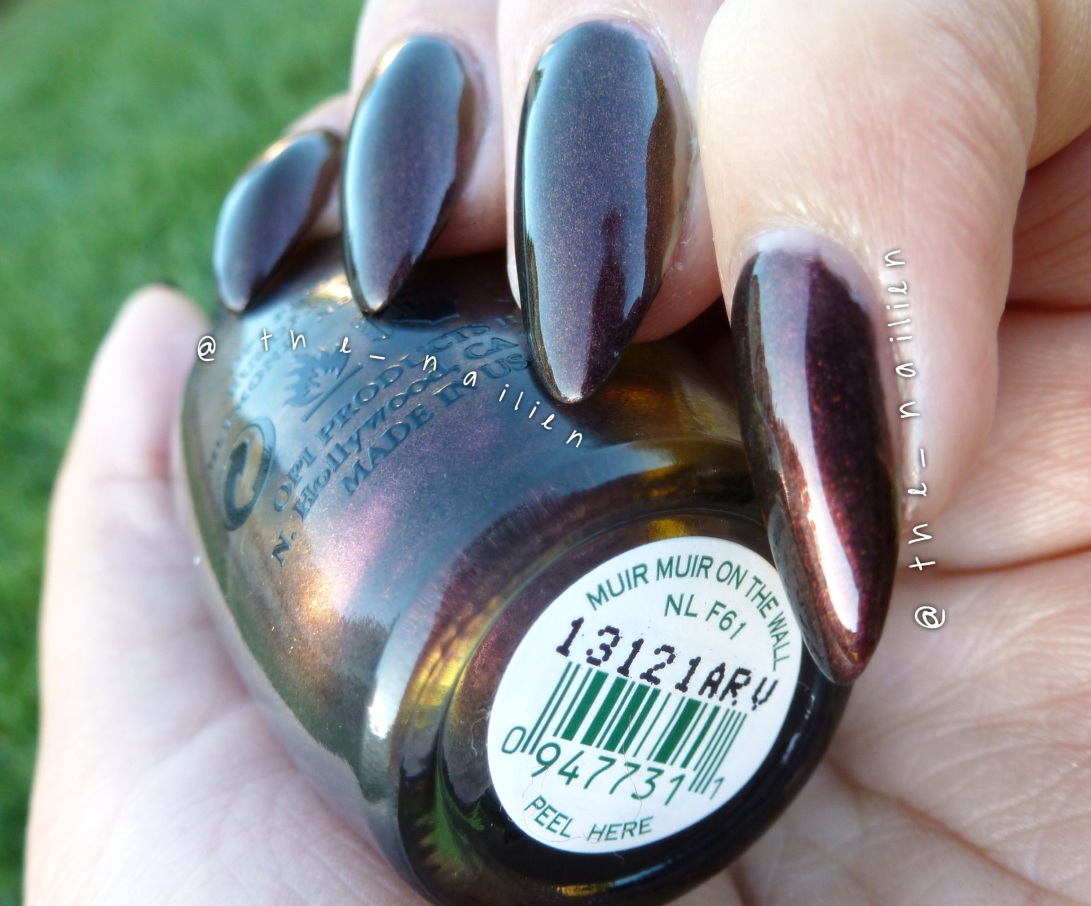
This is my first post in which I’m using a real camera (“real” aka a point-and-shoot!) versus my iPhone 5! Woohoo! So I decided to swatch one of my favorite fall colors – “Muir Muir On The Wall” from OPI’s San Francisco collection.

photo(3)

photo(1)

photo(2)

I hope you enjoyed! I tried to capture the shift in colors as best as possible. 🙂

Galaxy Nails

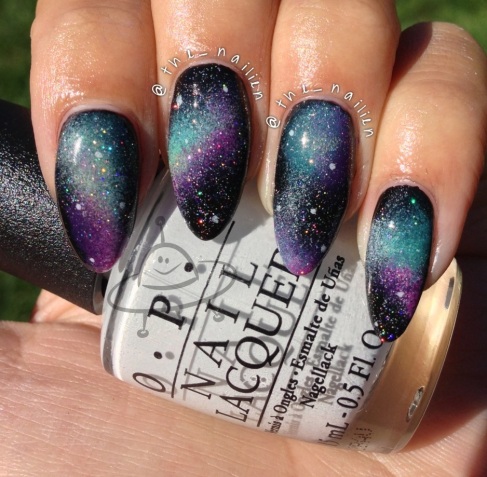
Hello all! I’m going to try to get on a routine of posting at least once a week. I have some designs lined up, as well as my new watermark on my photos! I wanted to show these babies off – probably the best attempt at galaxy nails I’ve made yet 🙂Image

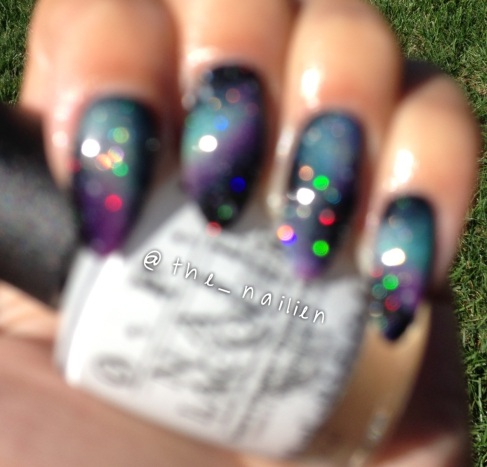
And here’s a photo blurred, to show off the holo stars:

Image

Shark Nails Tutorial

Shark Nails Tutorial

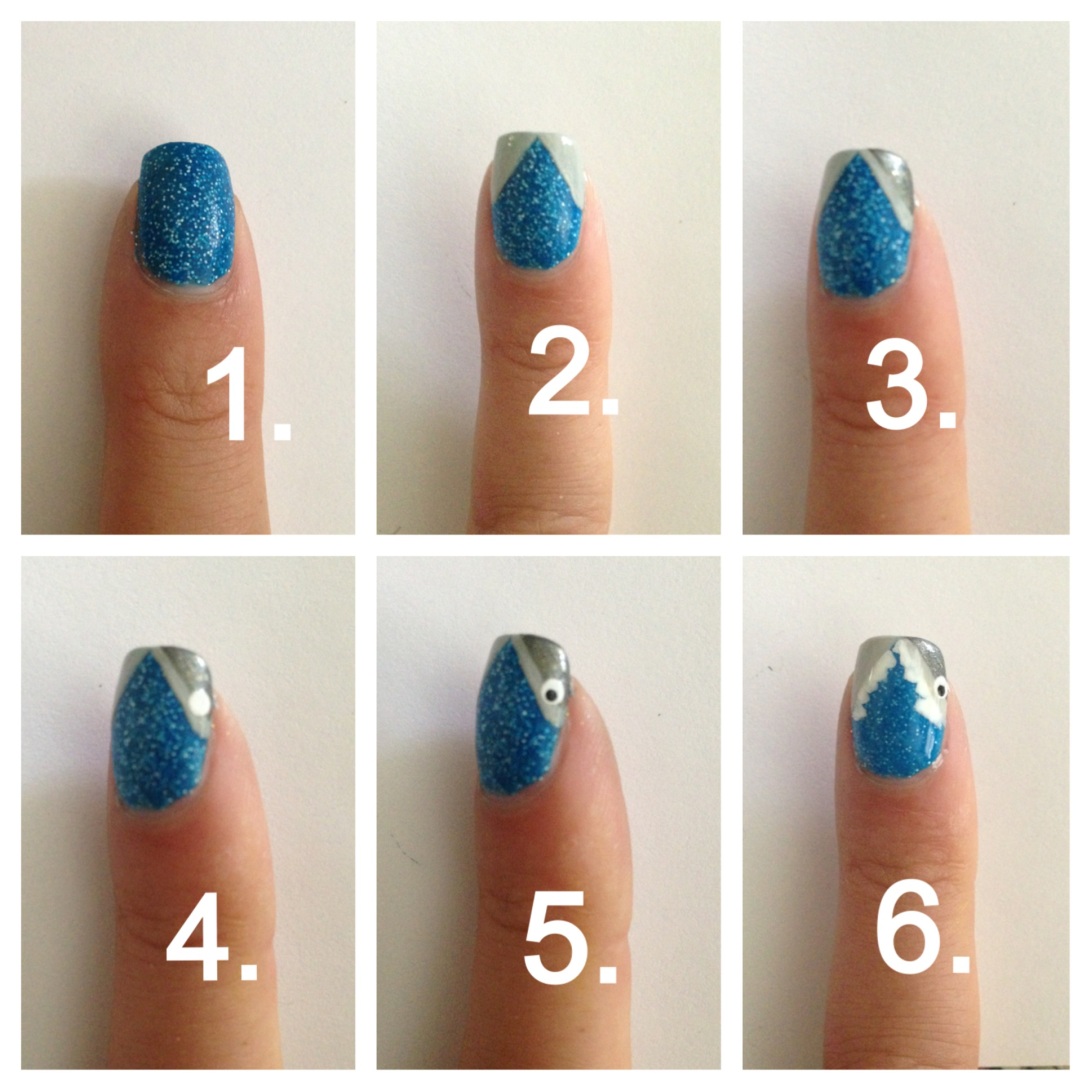
Here’s my tutorial for these sharky chevron nails 🙂

1. Start off with a blue base. I used “Otherworldly” by Color Club.

2. For this step, you’ll want to use a grey/silver polish. I used “Skull and Glossbones” by OPI. Using the brush that came with the nail polish, I made a chevron design on the tips of my nails. It doesn’t have to be perfect, because you’ll kinda cover up the inside edges with shark teeth!

3. On whichever side you want to be the top of the shark’s head, put one strip of a darker grey/silver polish on the corner of the nail. The color I used was “Stefani” by Julep.

4. Using a dotting tool, place a white dot halfway on the light grey and darker grey polishes, towards the bottom of the chevron design (or the top of the shark’s head). This is going to be the its eye.

5. Using a smaller dotting tool or a toothpick, put a small black dot inside the white dot. Now he’s got pupils!

6. Using a very small, fine art brush and white polish, make little triangles all around the bottom of the chevron design. Fill the triangles in and viola! Your shark is complete (Nom!)!

(In the other photo, I added little fishes. I don’t like them very much, but if you want to know how I did them, here’s how: I just used a dotting tool to make a small line, then a balloon-like shape coming off of the line.)

Turquoise Stone Nail Tutorial

Turquoise Stone Nail Tutorial

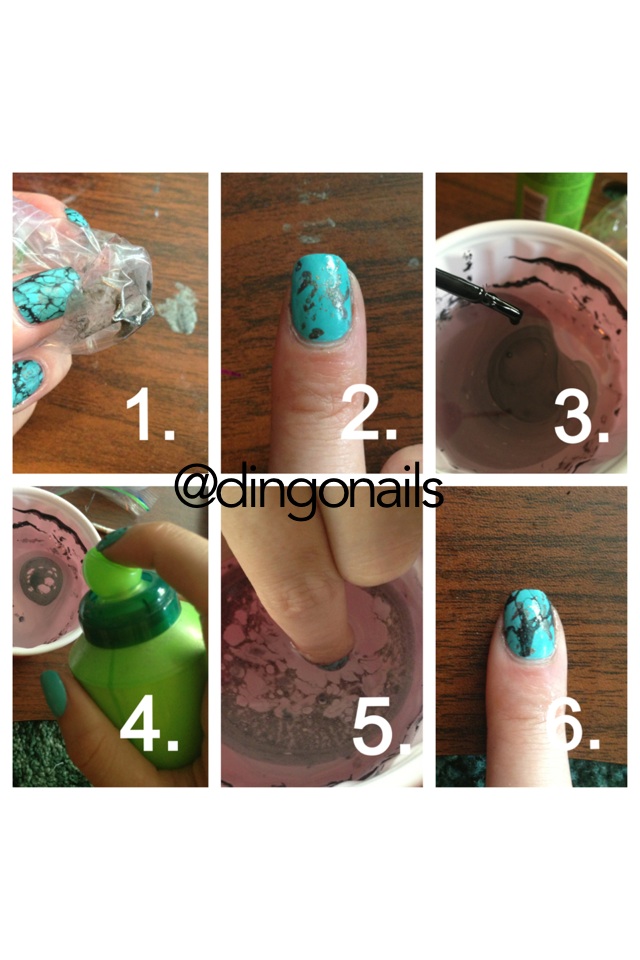
I was asked to do a tutorial for these, so I decided to give it a try. It’s my first tutorial, so be gentle !

âž¡ Base step (not shown): One coat of Orly Bonder & two coats of “Robin” by Julep. Any turquoise color would work! Make sure the turquoise polish is *completely* dry before following the next steps.

1. Grab a regular sandwich bag and crumple it up. Put a few drops of a gold or silver nail polish (I used “Stefani” by Julep) on a paper plate (or your craft table, like me) and dip the sandwich bag in the polish.

2. Dab the excess polish on the plate, then lightly dab the sandwich bag on your nail. Try turning it at different angles, it doesn’t have to be perfect. Wait for the gold or silver polish to dry completely before following the next steps.

3. Here’s the tricky part! You’ll want to do these next steps relatively quickly. I used a red solo cup and filled it with distilled water (I tried tap water and it was a huge fail!). I then used a black polish (“Black Out” by Sally Hansen) and put 4-5 drops *gently* into the water. The polish should disperse on top of the water as pictured.

4. Here’s a frustrating part. I sprayed the black polish on the water with hairspray to make little holes in it. However, not all hairsprays work for this. The hairspray that worked for me was Garnier Fructis Full Control (ultra strong hold). I think it worked because the spray was so fine (I also tried two different Aussie hairsprays and one by Rusk – neither worked). After you spray the polish on the surface of the water, gently shake the cup to make the holes bigger and the lines (that are going to mimic the cracks in the stone) finer.

5. Pick a spot in the polish that you like and dip your nail into the water at a 45 degree angle. Hold your nail there for maybe 15-20 seconds and allow the polish on the water to dry. I couldn’t photograph this part, but you basically dip a Q-tip or toothpick into the water and and use it to remove/collect the dried polish surrounding your finger. After all the excess polish is gone, remove your finger from the water.

6.  Allow the black polish to dry for a bit, then finish with top coat!

That’s it! I hope that all made sense. Feel free to ask questions & I’ll try my best to answer !